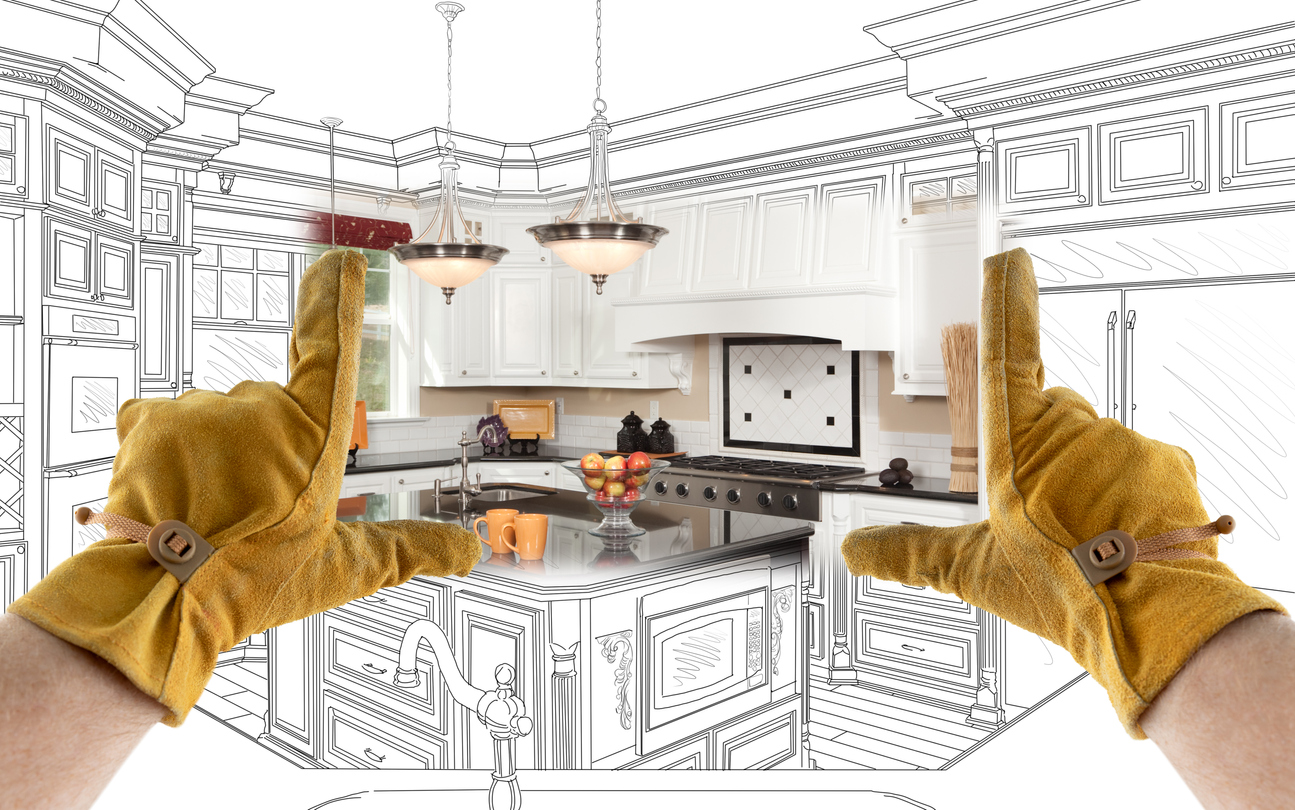
When it comes to kitchen renovations, a small change in detail can go a long way. This is especially true when it comes to kitchen backsplashes. Backsplash tile can provide a beautiful accent in an otherwise drab kitchen, offering hints of color, pattern, and texture that breaks up the monotony of the walls. Not to mention, a good backsplash has plenty of waterproof components that make cleanup easier after stove use. So, it’s important to know how to measure for a kitchen backsplash.
If you are anything like our Neolith sintered stone design pros, then you are a big fan of DIY projects. If you’re thinking about installing a new kitchen backsplash, you need to be sure you get your measurements exactly right. Otherwise, you may end up ordering the wrong amount of material or having the whole thing installed incorrectly.
Gather your tape measure, a pencil, and a calculator, because we’re going to show you how to measure for a kitchen backsplash the right way.
Split Up the Area
Measuring for a backsplash can seem tricky because there are many obstacles and larger objects in the way. While you may be one of the lucky homeowners who just has one long wall that can be measured, most kitchen enthusiasts are faced with a back wallspace that is broken up by the back of the stove, the cabinets, and other furnishings. Therefore, the best way to start your measurements is to divide the area into smaller sections. Label each area and then write down your measurements in width and height so you can keep track of everything.
Do Some Basic Calculations
Do you have your calculator ready? Good! Here’s how you determine the total area of your backsplash:
- Multiply the width and height of each measured area to give you the total area. Make sure to do this in inches.
- Divide that number by 144 to determine how many square feet of material you need to cover the whole backsplash area.
- Measure and calculate every single area like this!
In addition to the above calculations, HGTV recommends that you also add 10% to your total to account for broken, damaged, or wasted materials. It is always possible for mistakes to happen, or for calculations to be just a little inaccurate. This is why it’s always better to end up with slightly more than you need instead of being left with slightly less and an unfinished kitchen wall!
Choose Your Materials
After you have measured every area of the wall where you want the backsplash to be, it’s time to order and install your chosen materials! Most backsplashes come in the form of tile, with a myriad of different patterns and textures to choose from. Some backsplashes are also made of different materials depending on your budget and design preferences.
Whether you install the backsplash yourself or invest in a professional to install it for you, make sure to wait 12 hours before touching it after it has been set. Tile takes a while to get set in its place, so you should expect to spend a few days away from your kitchen. Prepare for this by gathering your essentials and storing them in another part of the home.
Add Your Favorite Sintered Stone Backsplash to Your Kitchen!
With so many materials to choose from, it can be overwhelming working on a backsplash project alone. Your Neolith experts are here to help you find the most beautiful and cost-effective solution to fit your needs. Changing your backsplash is a huge part of a kitchen renovation. And it’s one that can truly elevate the quality of the room overall. Just make sure to do the proper measurements so you aren’t wasting money on time or materials.
Take a look at our past projects for more information about our work. Contact us online to talk with the experts about your next project.
